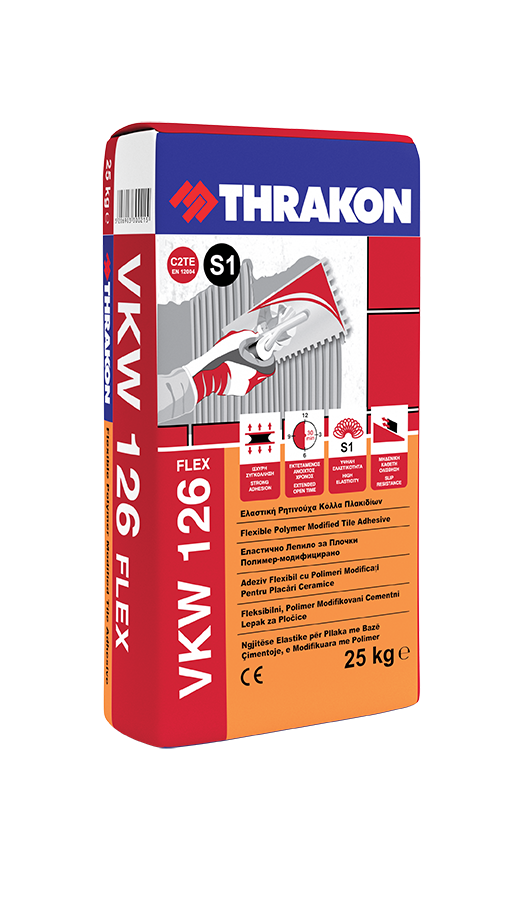
VKW 126
Elastic Tile Adhesive
 Enlargement Enlargement
|
VKW 126

Description
VKW 126 is a thin layer, cement based tile adhesive.It is polymer modified and suitable for applications on both horizontal and vertical surfaces. It consists of cement, quartz sand, lime fillers and admixtures. It is classified as type C2TE according to EN 12004.
Application Fields
- Suitable for fixing all types of small or large ceramic tiles, cotto tiles, natural or artificial granite tiles, thin marble tiles, small decorative tiles on mineral substrates in dry and wet duty rooms.
- Recommended for the adhesion of both absorbent and non-absorbent tile on sub-layers (i.e.verandas, balconies, yards) requiring high adhesion tolerances, elasticity and resistance to climatic conditions.
- Suitable for application on common substrates such as concrete, light weight concrete, autoclaved aerated concrete, flat walls with filled ts, self-leveling floors, showers, car showrooms, malls, utility areas, exterior tile layering, porches, roof tops, plaster boards (pre-treated with GLX 290 acrylic primer).
Advantages
- It presents strong adhesion for absorbent and non-absorbent tiles on all common substrates and vertical surfaces without tile slippage
- It has resistance against to elastic deformation
- It has excellent workability and tolerance for fast application
- It is resistant to humidity and frost
- Thixotopic quality allows applicator to fix tiles upper side towards downward
Application Steps
The tile laying sub-layer must be flat, free from brittle and foreign bodies such as for example plaster residue, paint, oils, etc. It must be stable and free from shrinkage and distortion forces and further more it should not be subject to vibrations. The absorbent sub-layers are primed using GLX 290 primer before application.
Step 2In a clean container add 8.5-9.0 liters of clean water and gradually empty the content of a 25 Kg sack of product VKW 126, mixing continuously with an electric mixer in order to acquire a uniform slurry mass.
Step 3Let the resulting mixture age for 5 minutes and mix again. The mixture is ready to be used within the next 4 hours.
Step 4Following the preparation of the mixture do not add more water in order to correct the workability of the slurry.
Step 5This would lead to the reduction of its tolerances and the increase of its shrinkage.
Step 6Spread the adhesive on the surface and then comb the adhesive layer using a special toothed spatula. Within 30 min since adhesive layering, place the tiles at their location, pressuring firmly in order to ensure full contact.
Step 7The installation of tiles on the wall may be performed starting from the upper part with the entire tile and without any slippage. The excess adhesive must be cleaned off the joints prior to its drying.
Step 8On surfaces larger than 25m2 it is necessary to install expansion joints. At the areas of contact of floors with walls it is recommended to use adequate silica-containing pastes.
Step 9During application and for the next 24 hours the environmental and sub-layer temperature must be between +50oC and +35oC. The adhesive is cleaned with water while still wet. When it hardens it is removed mechanically.
Storage
In a dry environment at temperatures above 00C for 12 months its production date.