Acrylic primer - High penetration
What do we need?
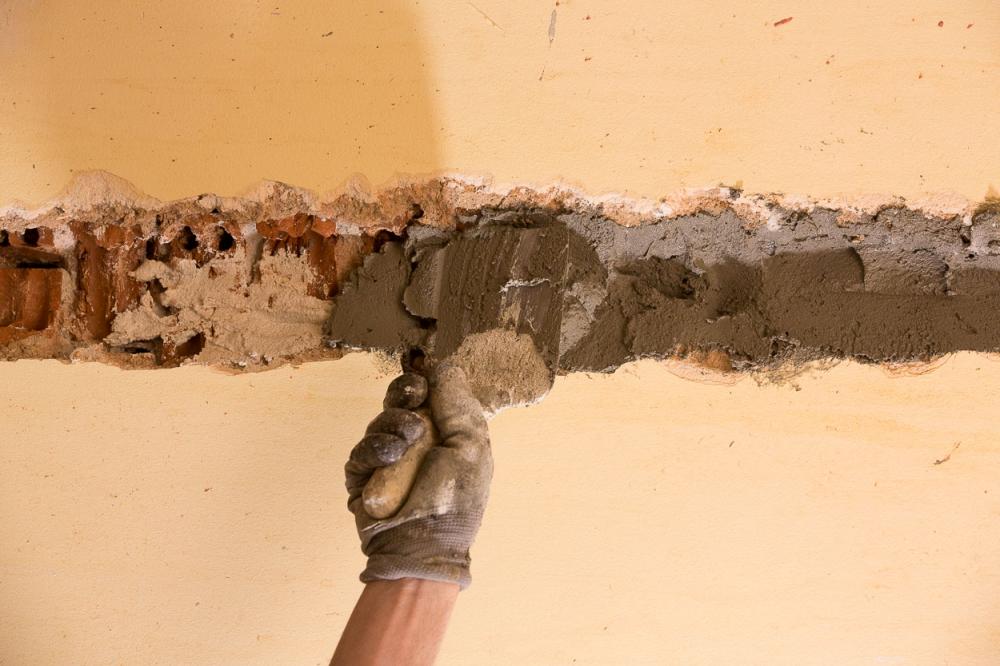
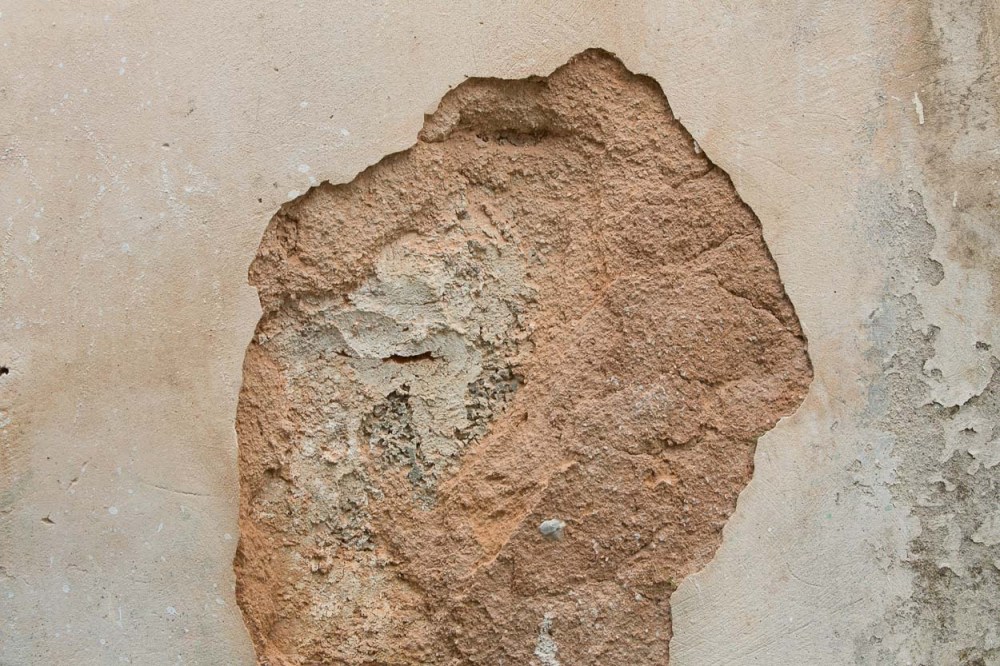
Many times in cement casting purposes applicable to terraces, after hardening , created hairline cracks (<1mm). Sometimes there are cracks in the masonry of the contact points.
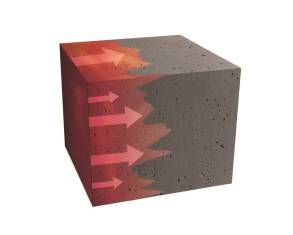
Even there may be an increased porosity of the concrete. In all these cases there is water leakage from the surface to the plate and to the inner surfaces resulting in the formation of moisture and mold walls and destruction of color. Even can occur much more severe problems such as corrosion of the reinforcement plate which is dangerous for the statics of the construction.
How do we do it?
Because cracks on terraces and much more connections between surfaces show contraction for the insulation used flexible 2-component brushable DSF 353 SUPER ELASTIC.
Products used
GLX 292 FLEX PRIM
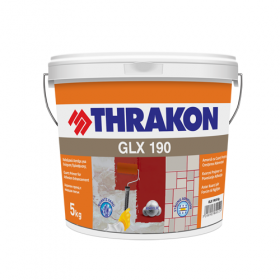
GLX 190
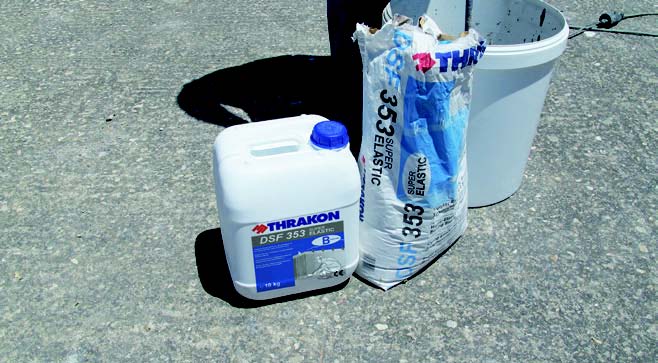
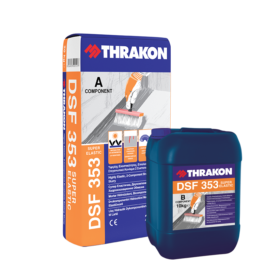
DSF 353 SUPER ELASTIC
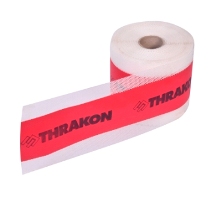
Joint Sealing tapes / Special items
Fiberglass mesh for waterproofing 70g/m2
VKW 129 ULTRA FLEX
THRAKON PROLEVELLING SYSTEM
Step by step
In case you wish to apply roof tiles (decorative reasons, aesthetic, etc.), you should have a proper waterproofing, which provides excellent protection and long life. Substrate should be thoroughly cleaned.
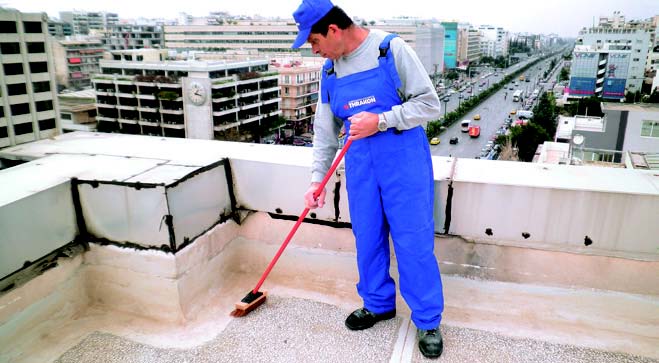
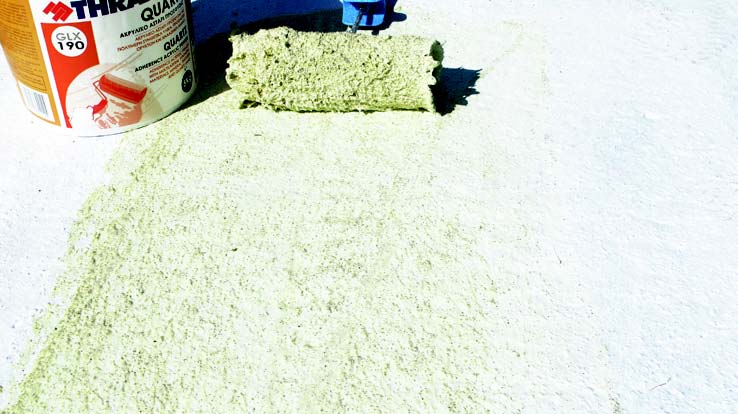
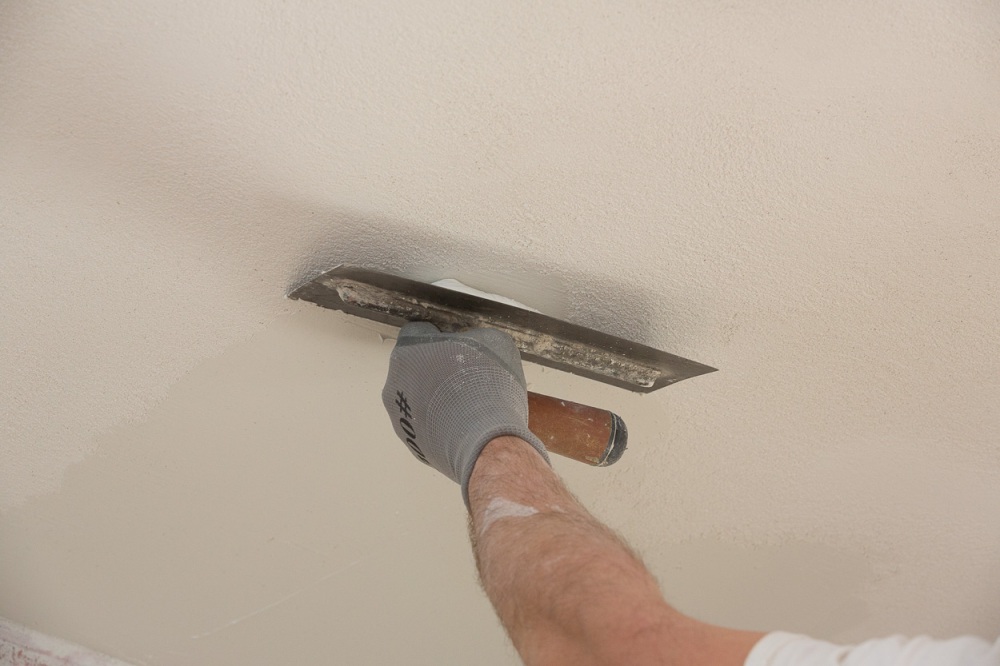
STEP 1: Prime the surface with the acrylic high penetration primer, GLX 292 FLEX PRIM. Where an acrylic membrane has been previously applied, you should apply quartz sand primer GLX 190, in order to improve the adhesion of the substrate
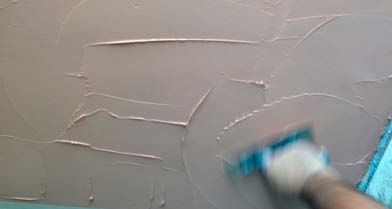
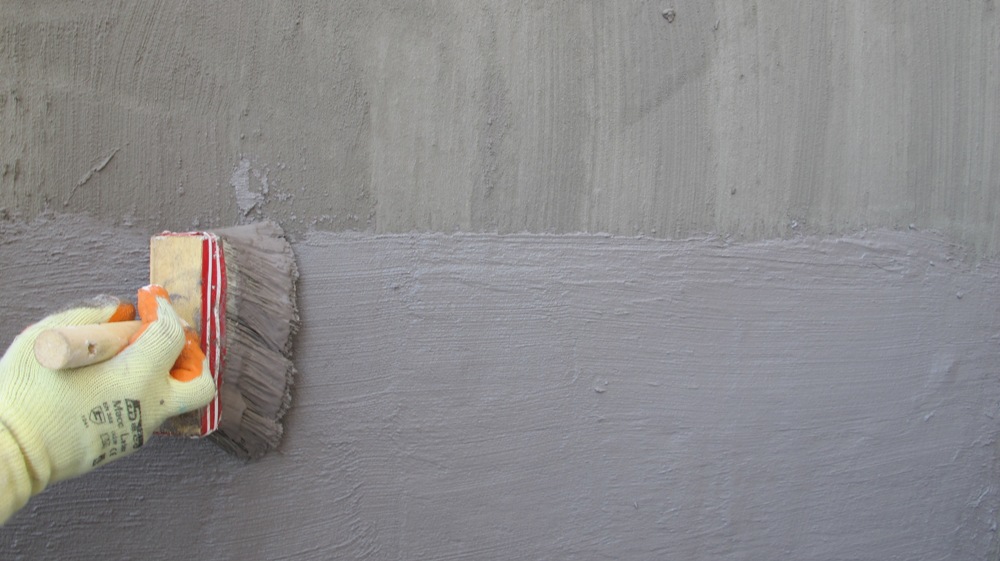
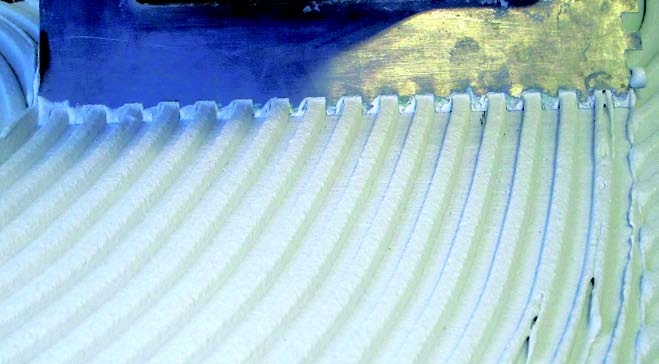
STEP 2: Apply by brush or roller, crosswise two layers of the elastic 2 component brushable sealing slurry DSF 353 SUPER ELASTIC. Since the color does not matter, choose gray
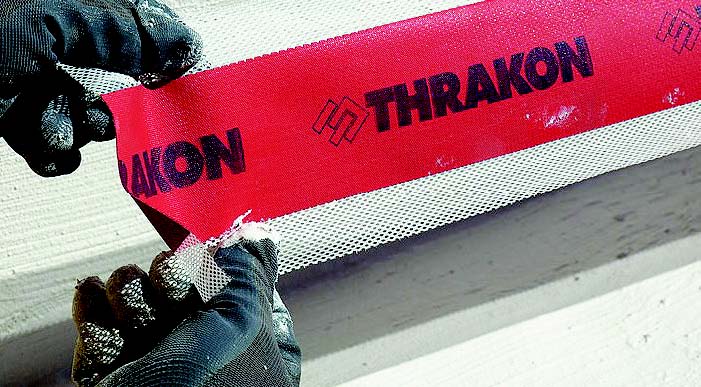
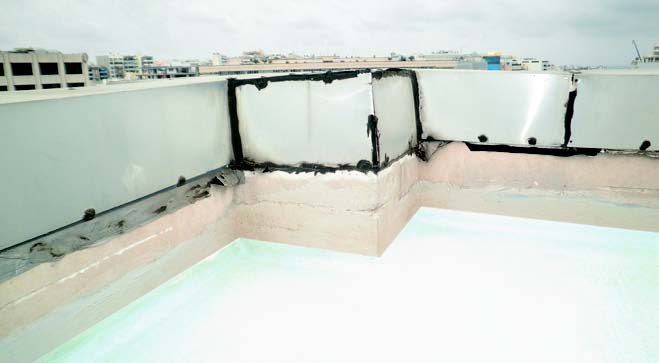
STEP 3: The application of DSF 353 SUPER ELASTIC should also be done at the vertical elements of the balcony in order to protect them from standing water. At corners, apply the waterproofing tape for better protection against standing water. While the first layer of DSF 353 SUPER ELASTIC is still fresh, waterproofing tape is positioned
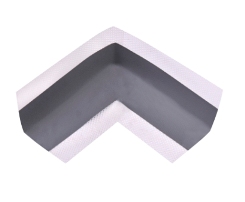
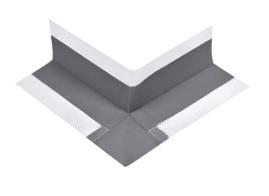
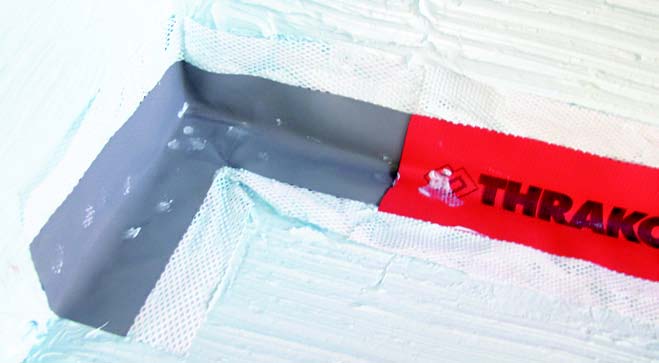
STEP 4: At the corners apply the THRAKON special items (Inner – Outer corner), after applying the first coat. While it is still fresh, a waterproofing special item is positioned
STEP 5: Apply the second layer of DSF 353 SUPER ELASTIC. If you want to leave it exposed as a final surface, the application should be made in 3 layers. For the last coat, use a white product, which provides protection from Ultraviolet (UV) Radiation
STEP 6: Proceed with applying adhesive VKW 129 ULTRA FLEX, which is super elastic (C2TE S2), suitable for the most demanding welds
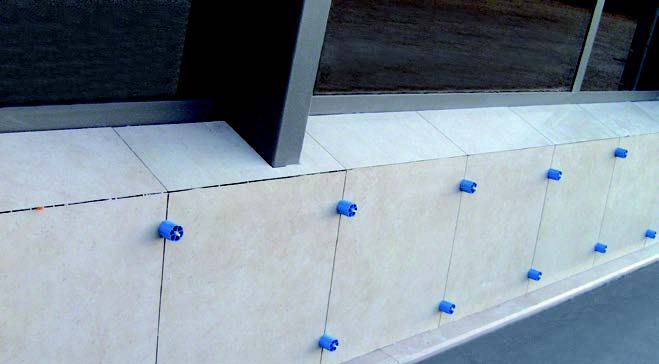
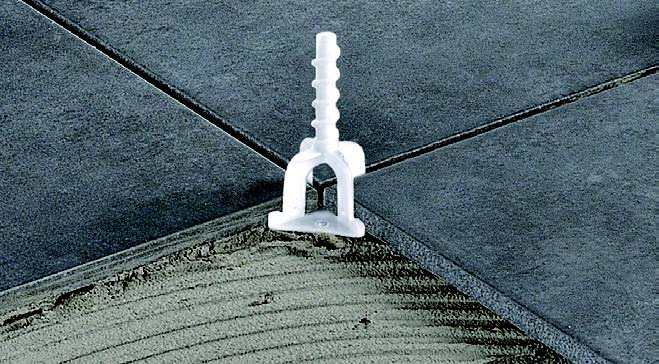
STEP 7: When applying the tiles, place the special profile, depending on the layout of the tiles (a cross, «T» or «Y»)


STEP 8: After completing the positioning of the tiles, apply the rotary screw – stem system, until it is on the surface of the tiles
STEP 9: Remove the upper part of the special piece, pulling or giving a slight kick in the screw-stem. The screw – stem, can be reused
Product Categories : Waterproofing Repairing mortars Tile Adhesives & Grouts
Acrylic primer - High penetration
Quartz acrylic primer adhesive for tiles & mosaics

Tile leveling system

Super Elastic Tile Adhesive
Flexible 2-component, cement based, brushable sealing slurry
Joint Sealing tapes
Grid width 100 cm